Why choose liquid screed?
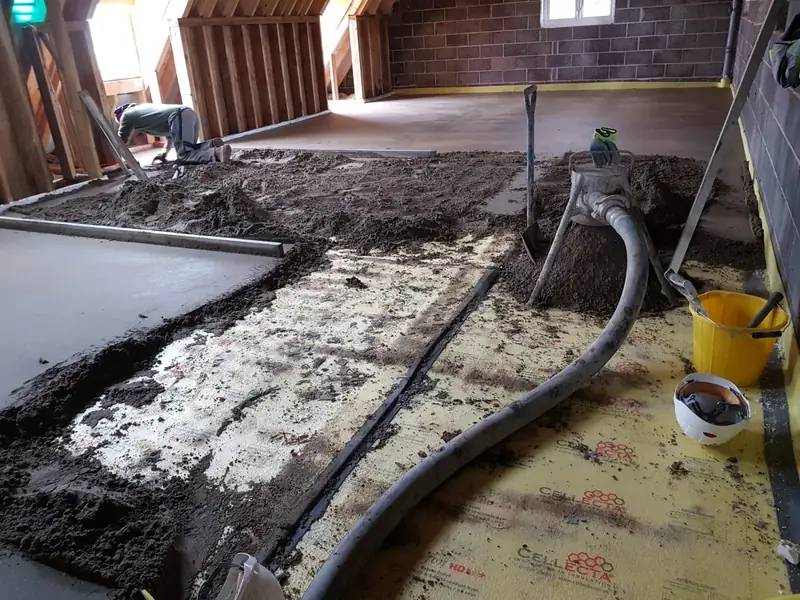
A flowing screed wraps fully around underfloor heating pipes with no air pockets, so heat transfers evenly into the room. Because it self-levels, a team can lay a large area in a single day, and the floor can usually take light foot traffic within one to two days. Lower depths than a traditional sand and cement screed are often possible, which helps where floor-to-ceiling heights are tight in an extension.
Calcium sulphate or cement-based?
Most liquid screeds in UK homes are calcium sulphate (anhydrite) based. They give excellent flatness and low shrinkage, but they need the surface laitance removed by sanding and a suitable primer before tiles are fixed with cement-based adhesives. Cement-based flowing screeds behave differently and suit some commercial and wet-area situations. We recommend the right product for your build-up and finished floor, and we follow the manufacturer’s data sheet on depth, drying and preparation.
What we need to prepare before the pour
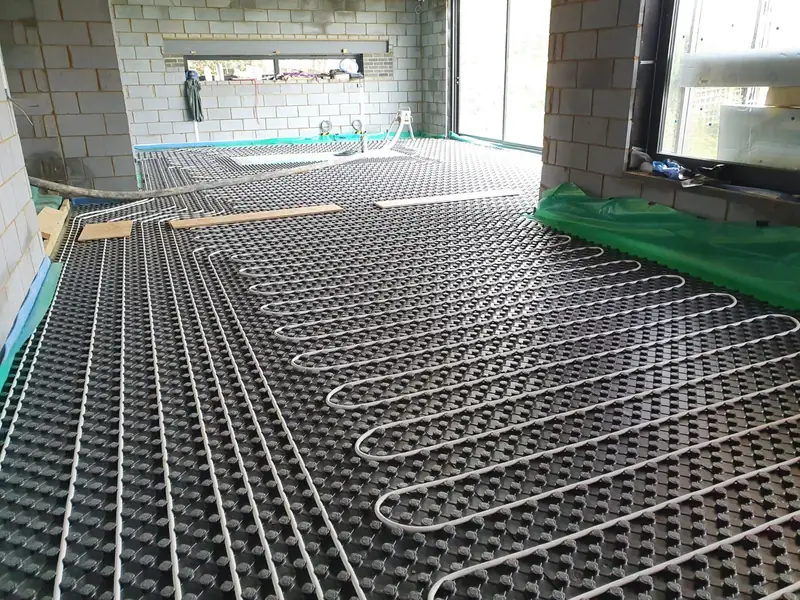
- Insulation laid flat and tight, with a polythene slip membrane taped at joints and turned up the walls
- Perimeter edge strip fitted to every wall, column and door frame
- Underfloor heating pipes clipped down and pressure-tested so they cannot float
- Door thresholds and movement joints planned, and the building weathertight
- Pump access within hose reach of the property, usually from the road or driveway
After installation
Keep the room closed for the first 24 to 48 hours, then ventilate. Where underfloor heating is fitted, it can usually be used to help drying once the manufacturer’s minimum period has passed, following a gradual heat-up programme. Moisture should be tested before any floor covering is laid; many coverings need the screed to reach 75% relative humidity or lower, and timber often needs drier.